
- Home
- Maintenance & Track Care
- How to Put Rubber Tracks on a Skid Steer (Step-by-Step Guide)
How to Put Rubber Tracks on a Skid Steer (Step-by-Step Guide)

TL;DR: How to Put Rubber Tracks on a Skid Steer
Inspect undercarriage and safety gear before starting rubber track installation.
Use proper tools to lift and block the skid steer securely.
Release grease valve, remove old track, and align new rubber track carefully.
Adjust rubber track tension based on terrain to avoid wear or derailment.
Replace both tracks for balance and longer skid steer rubber track life.
How to Put Rubber Tracks on a Skid Steer (Step-by-Step Guide)

When your rubber tracks wear down, your whole operation slows down.
Whether you’re grading a jobsite, clearing a fenceline, or hauling material on soft ground, worn tracks mean less traction, more downtime, and a higher risk of breakdowns.
This guide will walk you through how to put rubber tracks on a skid steer — step-by-step.
No fluff, no sales pitch — just what you need to know to get back on track.
What Are Skid Steer Rubber Tracks?

Rubber tracks are continuous belts made of tough rubber compounds with embedded steel cords. They wrap around a skid steer’s undercarriage to provide grip, support, and forward motion.
Tracks replace traditional tires on compact track loaders (CTLs) and multi-terrain loaders (MTLs), allowing machines to float over mud, snow, sand, and soft soil with less ground pressure.
Benefits Over Tires
Traction: Rubber tracks give better grip on wet, icy, or uneven ground.
Stability: A wider footprint keeps the machine balanced, even with a heavy load.
Flotation: Tracks distribute weight evenly, reducing ruts and surface damage.
When to Replace Your Tracks
It’s time to change your tracks when:
The tread pattern is worn flat
Lugs are cracking, missing, or sheared off
The track frequently slips or derails
You notice separation between the rubber layers
Downtime costs money. Swapping worn tracks early can save you bigger repairs down the road.
Before You Start: Tools, Safety, and Prep

Required Tools and Equipment

Ratchet and sockets (17mm and 19mm

6-inch extension

Chisels or pry bars

Grease gun (manual or air-powered)

Heavy-duty jacks or wooden cribbing

Safety gear: boots, gloves, eye protection
You need to lift your skid steer off the ground — safely. Here’s how:
Use the boom and bucket to raise the machine
Slide solid blocks or cribbing under the frame
Never rely on the hydraulics alone
Make sure the machine is stable before you crawl under
Tracks aren’t one-size-fits-all. Match your new set by:
Make and model: (e.g., Kubota SVL75, Bobcat T590)
Track size: Width × pitch × links
Tread type: General-purpose, snow, or heavy-duty
Application: Are you working in rock, sand, or clay? Each surface has different demands

Let's keep you on track
How to Put Rubber Tracks on a Skid Steer (10-Step Process)
Installing new tracks isn’t hard — but it does take patience, the right tools, and some know-how.
Whether you’re in a shop or working in the field, this process will walk you through each step so you can get your machine back up and running without costly delays.
Step 1 – Lift and Secure the Machine


Use your bucket to press down and lift the rear of the machine. Block it up using wooden cribbing. You want enough clearance to remove the track safely.
Step 2 – Release Track Tension

Remove the 17mm bolts covering the grease valve. Then use a 19mm socket to open the valve. Grease will release, allowing the front idler to pull back.
Tip: Stand or press down on the track to help squeeze out more grease.
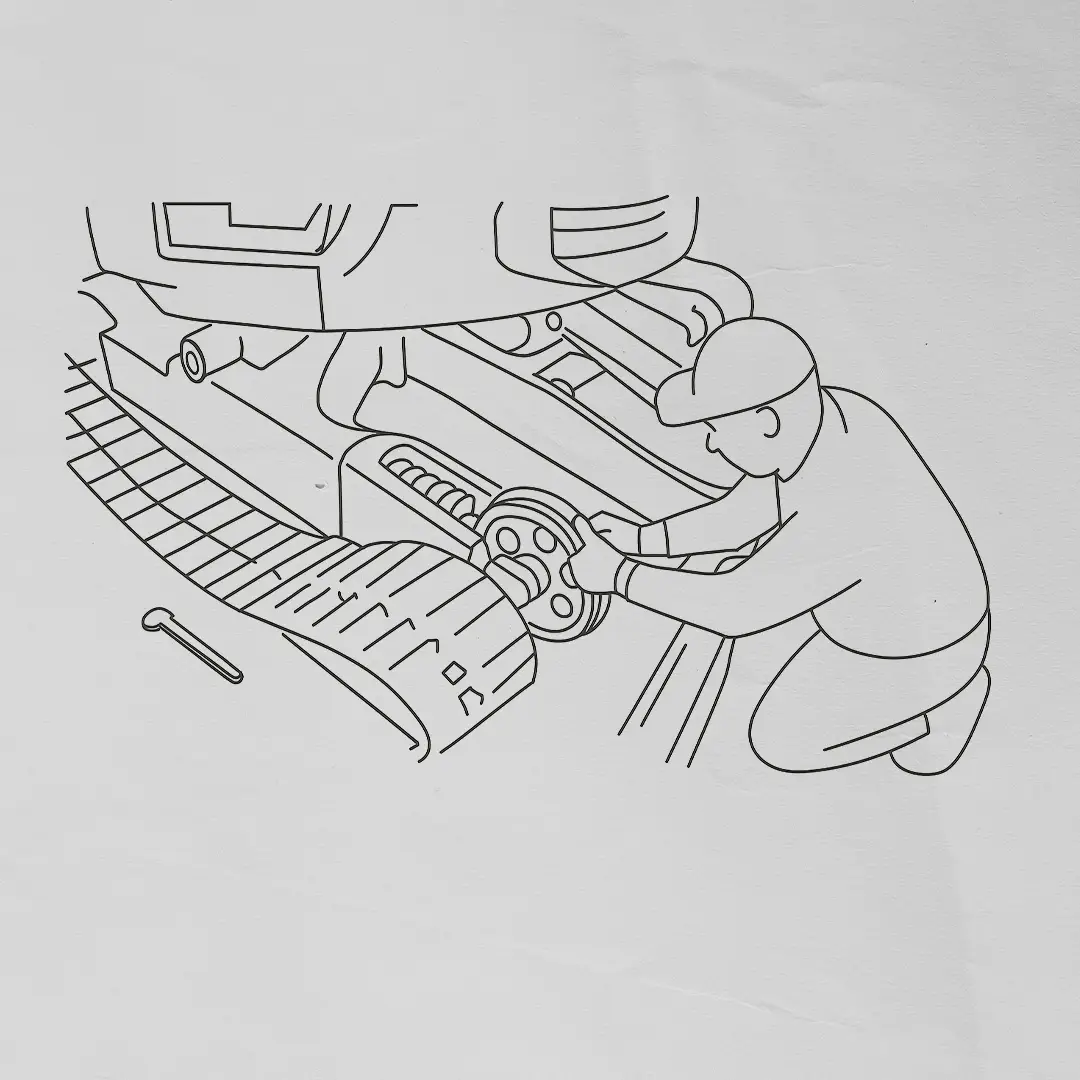
Step 3 – Remove the Old Track Safely

Start at the sprocket. Use a pry bar to walk the track off as you rotate the sprocket backward. One person can be in the cab while another helps guide it off.
Step 4 – Inspect Undercarriage Components

Start at the sprocket. Use a pry bar to walk the track off as you rotate the sprocket backward. One person can be in the cab while another helps guide it off.
Step 5 – Position and Align the New Rubber Track

Lay the track in place, starting at the front idler. Raise and rotate the machine as needed to feed it over the top rollers and into the sprocket.
Tip: Cold weather stiffens tracks. Let them warm up or use a second machine to assist.
Step 6 – Re-tension the Track with a Grease Gun

Clean the grease valve. Reinstall it carefully (don’t cross-thread). Pump grease until the track starts to tighten and lift.
Step 7 – Rotate Track Forward and Backward to Settle

Move the machine forward and back slowly to help the track settle into place. Let it run a short cycle before the final check.
Step 8 – Check Proper Alignment and Sag
There should be about a 2-inch gap between the track and the bottom roller when suspended. Too tight causes wear; too loose risks derailment.
Step 9 – Reinstall the Valve and Cover

Once tensioned properly, reinstall the cover plate over the valve to keep out debris.
Step 10 – Repeat for Other Side if Needed
Most times, you’ll want to replace both tracks for balanced performance. Repeat the process for the other side.
Done right, this job can be completed in a couple of hours with minimal downtime. If you want to see this process in action, check out these two video walkthroughs:
Adjusting Track Tension for Optimal Performance
Proper track tension is critical to your machine’s health. Too loose and you risk derailments. Too tight and you’ll wear out parts fast. In this section, we’ll walk through how tight your tracks should be, how to adjust based on terrain, and what mistakes to avoid.
How Tight Should Rubber Tracks Be?
Most tracks should have a 1–2 inch sag under the bottom roller. Always check the spec in your operator’s manual. Over-tightening puts stress on the idlers and rollers.
Adjustments Based on Terrain
Sand or Mud: Slightly looser to reduce wear on internal components
Rock or Gravel: Tighter to keep out debris and prevent derailment
Snow or Ice: Balanced — not too loose, or you’ll lose traction
Common Tension Mistakes and What to Avoid
Too loose: Track walks off or chews up the undercarriage
Too tight: Overloads idlers, increases wear, and reduces machine life
Grease valve issues: A damaged nipple or worn gun tip can prevent proper tensioning
Dialing in your tension is a small task with a big payoff. Stay consistent with your checks and don’t wait until problems show up — track tension should be part of your weekly maintenance routine.
When to Replace vs. Repair Rubber Tracks
Not sure if your tracks are done for or just in need of a patch job? This section breaks down what damage can be fixed — and when it’s smarter (and safer) to swap them out.
Track Damage Types
Cuts or gashes in the rubber
Internal steel cord separation
Missing or sheared drive lugs
Tread worn down flat
Can Rubber Tracks Be Repaired?
Small cuts might be patched temporarily, but most skid steer tracks are non-repairable. If the steel cords are exposed or the lugs are gone, it’s time to replace.
When It’s Time to Invest in New Tracks
If you’ve thrown a track more than once in a week
If undercarriage noise or vibration is increasing
If traction is clearly worse on the same terrain
If your machine is acting up or losing grip, don’t wait for a full breakdown. Inspect often, and when in doubt — replace. New tracks might seem like a cost, but they’ll save you from lost time, busted parts, and jobsite headaches.
Skid Steer Brands and Compatibility
Not all tracks fit all machines. This section will help you figure out which brands we support, the pros and cons of OEM vs. aftermarket, and how to choose a supplier that won’t leave you stranded.
Common Brands and Models
We supply tracks for:
Bobcat: T590, T770, T650
CAT: 259D3, 279D, 299XHP
Kubota: SVL65, SVL75, SVL97
John Deere: 317G, 325G, 333G
And more — including CASE, Takeuchi, and New Holland
OEM vs. Aftermarket Tracks: What’s the Difference?
OEM Tracks: Made by the machine’s brand. Often more expensive.
Aftermarket Tracks: Same spec, lower price. Quality varies — Dyne only stocks proven brands.
Choosing the Right Vendor or Supplier
Look for:
Accurate track fitment info
In-stock inventory
Trusted brands like Camso or Traxter
Fast shipping and support from people who know the job
Get the right track, right away. That’s our promise at Dyne. Whether you run a single Bobcat or manage a mixed fleet, we’ll help you find a fit that lasts.
Expert Tips for Longer Track Life
Even the best tracks wear out. But how fast they wear — that’s up to you. This section shares real-world habits that extend track life and keep your machine running smoothly across seasons and job types.
Operating Tips That Reduce Wear
Avoid spinning in place
Slow down in tight turns
Limit operation on sharp rocks or curbs
Cleaning and Maintenance Habits
Rinse off mud and debris after each job
Inspect undercarriage weekly
Check and adjust tension regularly
Seasonal Considerations and Storage
In winter, store tracks indoors to prevent cracking
Let new tracks warm up before use in freezing temps
Avoid parking machines on hard edges or sharp debris
Take care of your tracks, and they’ll take care of you. A few extra minutes after each job can save you hours in repairs — and thousands in replacement costs.
Conclusion: Confidently Replace Your Skid Steer Tracks
Swapping out rubber tracks isn’t just routine maintenance — it’s a performance upgrade. When your machine has solid traction, proper tension, and clean undercarriage components, you’ll get more done with less downtime.
Take your time. Use the right tools. And if you’re not 100% sure, call in a second set of hands or talk to your dealer. Dyne Industries is here when you need tracks you can trust — for Bobcat, CAT, Kubota, and more.
Let's keep you on track
FAQs About Replacing Skid Steer Rubber Tracks
You can do it solo with the right tools, but it’s safer and faster with a second person — especially for prying and repositioning.
Typically 1,200 to 2,000 hours, depending on usage, terrain, and maintenance.
Typically 1,200 to 2,000 hours, depending on usage, terrain, and maintenance.
Most should have a 1–2 inch sag under the bottom roller. Check your machine’s manual for the exact spec.
Dyne Industries stocks only tested, high-quality options.
Use the model number and OEM specs to find the correct size. Or contact Dyne — we’ll match it for you.
Not recommended. Uneven wear can cause imbalance and damage the undercarriage.
Costs range from $800 to $1,800 per track, depending on size, brand, and type.
CTL (Compact Track Loader) tracks are built tougher for harsh surfaces. MTL (Multi-Terrain Loader) tracks are softer and designed for turf and sensitive ground.
- aftermarket rubber tracks for bobcat
- compact track loader rubber tracks
- CTL vs MTL tracks
- how to adjust track tension
- how to put rubber tracks on a skid steer
- installing rubber tracks step by step
- Kubota skid steer tracks
- replacing bobcat tracks
- rubber track installation
- rubber track tensioning
- signs of bad rubber tracks
- skid steer repair tips
- skid steer track compatibility
- skid steer track maintenance
- skid steer track replacement guide
- skid steer track sag
- skid steer traction issues
- skid steer undercarriage inspection
- tools for replacing skid steer tracks
- when to replace skid steer tracks

Learn when to replace rubber tracks to avoid costly downtime and ensure optimal performance of your machinery.